How to Upload Files to an S3 Bucket in a Vue.js App and Save to MongoDB (A Beginner’s Guide)
Upload files to an S3 bucket with a Node.js back-end and Vue.js front-end using Multer and Express, and save them in a database — in this case, MongoDB.

Introduction
While building web applications, your users may need to upload files on the front-end. To view those files, you would need to implement an API and a database on the back-end to receive them. With the Node.js framework Express and the middleware Multer, you can establish file and image uploads in one setting.
In this article, you will learn how to upload files to an S3 bucket with a Node.js back-end and Vue.js front-end using Multer and Express and save the image name to a database — in this case, MongoDB.
Requirements
- Create an AWS account.
- Create an IAM Group and attach policies.
- Add IAM Users to the Created Group.
- Create a bucket in AWS S3 that will store my static files.
- Set Up MongoDB.
- Set up the backend API or the endpoints with Node.js and Express that will access the AWS S3 bucket via the SDK.
- Create our Vue.js app.
AWS IAM
What is IAM?
AWS Identity and Access Management (IAM) is a web service that helps you securely control access to AWS resources. You use IAM to control who is authenticated (signed in) and authorized (has permissions) to use resources.
When you first create an AWS account, you begin with a single sign-in identity that has complete access to all AWS services and resources in the account. This identity is called the AWS account root user and is accessed by signing in with the email address and password that you used to create the account.
AWS strongly recommends that you do not use the root user for your everyday tasks, even the administrative ones. Instead, adhere to the best practice of using the root user only to create your first IAM user. Then securely lock away the root user credentials and use them to perform only a few account and service management tasks.
💡Also learn how to efficiently store one million small objects to S3 with AWS Athena integration:
👉 To read more such articles, sign up for free on Differ.
What is an IAM group?
An IAM group is a collection of IAM users. Groups let you specify permissions for multiple users, which can make it easier to manage the permissions for those users. For example, you could have a group called Admins and give that group the types of permissions that administrators typically need. Any user in that group automatically has the permissions that are assigned to the group. If a new user joins your organization and needs administrator privileges, you can assign the appropriate permissions by adding the user to that group.
Similarly, if a person changes jobs in your organization, instead of editing that user’s permissions, you can remove him or her from the old groups and add him or her to the appropriate new groups.
A group cannot be identified as a principal in a resource-based policy. A group is a way to attach policies to multiple users at one time. When you attach an identity-based policy to a group, all of the users in the group receive the permissions from the group. For more information about these policy types, see identity-based policies and resource-based policies.
Following are some important characteristics of groups:
- A group can contain many users, and a user can belong to multiple groups.
- Groups can’t be nested; they can contain only users, not other groups.
- There’s no default group that automatically includes all users in the AWS account. If you want to have a group like that, you need to create it and assign each new user to it.
- The number and size of IAM resources in an AWS account are limited. For more information, see IAM and STS quotas.
Create an Account on Aws
Use this link to create an account on AWS and follow this guide for activating your account.
Creating an administrator IAM user and group (console)
This procedure describes how to use the AWS Management Console to create an IAM user for yourself and add that user to a group that has administrative permissions from an attached managed policy.
Follow these steps to create an administrator user for yourself and add the user to an administrator group (console).
- Sign in to the IAM console as the account owner by choosing Root user and entering your AWS account email address. On the next page, enter your password.
- Enable access to billing data for the IAM admin user that you will create as follows:
- On the navigation bar, choose your account name, and then choose My Account.
- Next to IAM User and Role Access to Billing Information, choose Edit. You must be signed in as the root user for this section to be displayed on the account page.
- Select the check box to Activate IAM Access and choose Update.
- On the navigation bar, choose Services and then IAM to return to the IAM dashboard.
- In the navigation pane, choose Users and then choose Add user.
- On the Details page, do the following:
- For User name, type Administrator. or Or any name you want to give
- Select the check box for AWS Management Console access, select Custom password, and then type your new password in the text box.
- By default, AWS forces the new user to create a new password when first signing in. You can optionally clear the check box next to User must create a new password at next sign-in to allow the new user to reset their password after they sign in.
- Choose Next: Permissions.
- On the Permissions page, do the following:
- Choose Add user to group.
- Choose Create group.
- In the Create group dialog box, for Group name type Administrators.
- Select the check box for the AdministratorAccess policy.
- Choose Create group.
- Back on the page with the list of groups, select the check box for your new group. Choose Refresh if you don’t see the new group in the list.
- Choose Next: Tags.
- (Optional) On the Tags page, add metadata to the user by attaching tags as key-value pairs. For more information, see Tagging IAM resources.
- Choose Next: Review. Verify the group memberships to be added to the new user. When you are ready to proceed, choose Create user.
- (Optional) On the Complete page, you can download a .csv file with login information for the user, or send email with login instructions to the user.
Create a bucket in AWS S3 that will store my static files
Login to your AWS console with the newly created user. At the top of the navigation bar, click on services as in the picture below. A drop-down with the list of AWS services will appear.
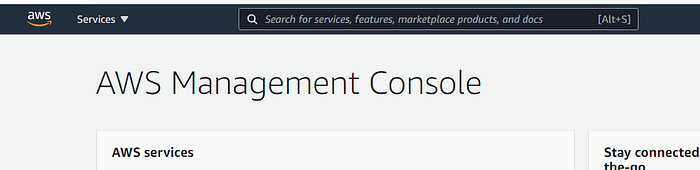
On the dropdown, click on S3. This will lead you to a page where you can create a new bucket.

If you notice, we don’t have any bucket yet. This is because our account has just been created.
To get started click on Create bucket and fill in the required information. Now, remember we want the contents in our bucket to be accessible by anyone, so we have to uncheck the block public access check box. It should look like this.
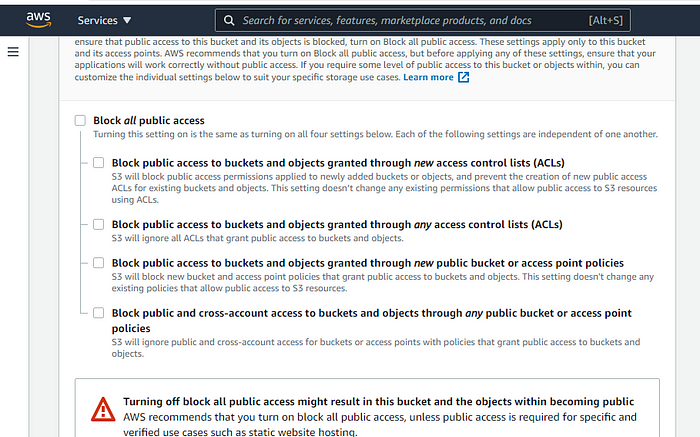
Scoll to the bottom of the page and click on Create bucket.
Setting up MongoDB
Mongo DB can be used in different ways. We can either decide to install it on our local development machine, or we use or cloud servers, or we can decide to use the database as a service(Atlas), provided by MongoDB.
To install MongoDB on your server or local machine, follow the instruction in the MongoDB docs. If you decide to use the database as a service such as MongoDB atlas, you can follow the instructions in the MongoDB docs to get you started.
Creating Our Node.js Application
Now that we have created our S3 bucket and our database, it’s time to create our Node.js application.
The first requirement would be to get Node.js installed on our computer.
Node.js is an open-source, cross-platform, back-end JavaScript runtime environment that runs on the V8 engine and executes JavaScript code outside a web browser. You can read more about it here.
To get Node installed on your computer, follow this link for Windows, this one for Mac, and this one for Linux.
To check if your Node.js installation was successful, run this command in your terminal:
node -v
To verify whether Node Package Manager (npm) is successfully installed, type npm -v in the terminal.
This should print the version number. You’ll see something like this 6.4.
Creating the Project
To get started on a new project, open your terminal and cd into your workspace folder. Make a new directory with your back-end project name. For this tutorial, our project name would be vue-multers3-backend . Now, we cd into our newly created project directory. Then, we initialize our project, by typing the following command:
npm init
After filling in the necessary information, a package.json file should be created for you. Then install the following npm packages with the following command:
npm install --save express multer dotenv cors body-parser mongodb multer-s3 aws-sdkExpress — Fast, unopinionated, minimalist web framework for Node.js.
Multer — Multer is a Node.js middleware for handling multipart/form-data, which is primarily used for uploading files. It is written on top of busboy for maximum efficiency.
dotenv — Dotenv is a zero-dependency module that loads environment variables from a .env file into process.env.
CORS — CORS is a Node.js package for providing a Connect/Express middleware that can be used to enable Cross-Origin Resource Sharing (CORS) with various options.
body-parser — Node.js body parsing middleware.
MongoDBg — The official MongoDB driver for Node.js. Provides a high-level API on top of mongodb-core that is meant for end-users.
multer-s3 — Streaming multer storage engine for AWS S3.
aws-sdk — The aws-sdk makes it easy for JavaScript developers to use AWS services by offering a set of consistent and familiar libraries.
Creating our Express Server
First and foremost, we create a file named index.js and input the following code. This would be the starting point of our application.
const express = require('express')
const bodyParser = require('body-parser')
const cors = require('cors')
const dotenv = require('dotenv')
dotenv.config()
const app = express()
//middleWare
app.use(bodyParser.json())
app.use(bodyParser.urlencoded({ extended: true }))
app.use(cors())

app.get('/', async (req, res) => {
  res.status(200).send('S3 Upload Backend')
})

const port = process.env.PORT || 5000
app.listen(port, () => {
  console.log(`server started on port ${port}`)
});
In the root folder, create a .gitignore and .env file. Your .gitignore file should look like this:
.DS_Store
node_modules
/dist

#local env files
.env.local
.env.*.local

#Log files
npm-debug.log*
yarn-debug.log*
yarn-error.log*
pnpm-debug.log*

#Editor directories and files
.idea
.vscode
*.suo
*.ntvs*
*.njsproj
*.sln
*.sw?
Then, in our .env file, we set our environment variables.
DATABASE=mongodb://127.0.0.1:27017/
PORT=5005
AWSAccessKeyId=your_aws_accesskey
AWSSecretKey=your_aws_secret_key
AWSRegion=your_aws_region
AWSBucket=your_aws_bucket
If you remember clearly, when we created a user on our AWS account, we downloaded some credentials. Inside the downloaded credentials is your secret key and access key. If you misplaced it, you can always create another one from your dashboard.
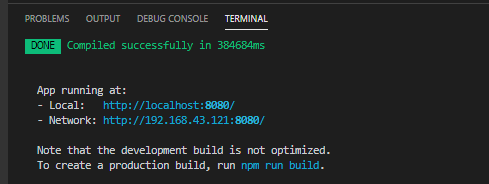
To ppin up our server, we run the command below.
node index.jsWe should see this in our terminal.

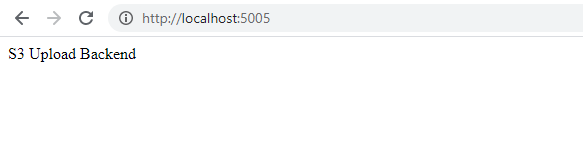
When we visit localhost:5005 in the browser, we see this page.
Our Upload Middleware
const aws = require('aws-sdk')
const multer = require('multer')
const multerS3 = require('multer-s3')

aws.config.update({
  apiVersion: "2006-03-01",
  accessKeyId: process.env.AWSAccessKeyId,
  secretAccessKey: process.env.AWSSecretKey,
  region: process.env.AWSRegion
})const s3 = new aws.S3()

const upload = multer({
  storage: multerS3({
    s3: s3,
    bucket: process.env.AWSBucket,
    acl: "public-read",
    contentType: multerS3.AUTO_CONTENT_TYPE,
    metadata: (req, file, cb) => {
      cb(null, { fieldName: file.fieldname})
    },
    key: (req, file, cb) => {
      cb(null, Date.now().toString() + file.originalname)
    }
  })
})
Routes
const mongodb = require('mongodb')app.post('/', upload.single('photo'), async (req, res) => {
  try {
    const users = await loadUsersCollection();
    await users.insertOne({
      first_name: req.body.first_name,
      last_name: req.body.last_name,
      phone: req.body.phone,
      email: req.body.email,
      gender: req.body.gender,
      photo: req.file.location,
    })
    res.status(201).send('success')
    }
    catch (err) {
      res.status(500).send({
        error: 'error occured creating user'
      })
    }
  })


async function loadUsersCollection () {
  const client = await mongodb.MongoClient.connect(process.env.DATABASE, {
   useNewUrlParser: true,
   useUnifiedTopology: true
  })
  return client.db('vue-multers3').collection('users')
}
Creating our front-end application
For this tutorial, we will be using Vuetify as our UI framework. Follow this link here to get started on how to use Vuetify in your Vue.js project.
First, we need to install the Vue-cli globally.
npm install -g @vue/cli
After installation, we create a blank frontend project in our workspace with the following command.
vue create vue-multers3-frontend
Where vue-multers3-frontend is our app name.
To add vuetify to our project, we have to cd into our project directory:
cd vue-multers3-frontend
Then run the following command:
vue add vuetify
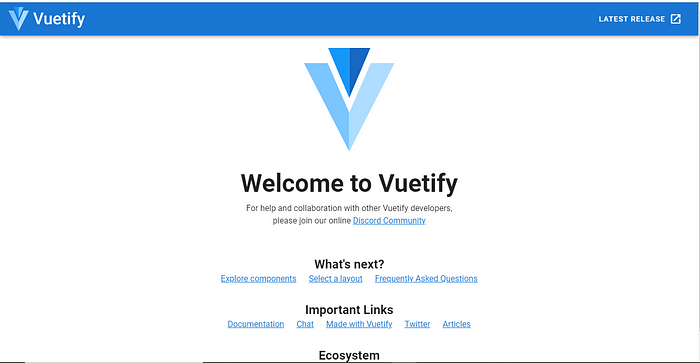
Once Vuetify installs successfully, we can run:
npm run serve
If we visit the local url in our browser, we should get this page.
Creating the Register Component
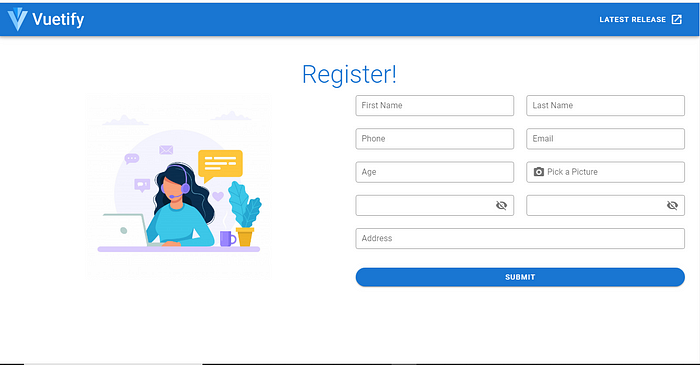
Let's create our Register.vue component in our component folder and add this code snippet.
Then we import this component into App.vue.
On saving, if we refresh our browser, we should see our register component being displayed.
To send our data to our back-end via an API request, we need to install axios.
Axios is a Promise-based HTTP client for the browser and Node.js.
Run the following command to install axios. Make sure you’re in your front-end folder.
npm install axiosNow let's add the submit functionality to our register component.
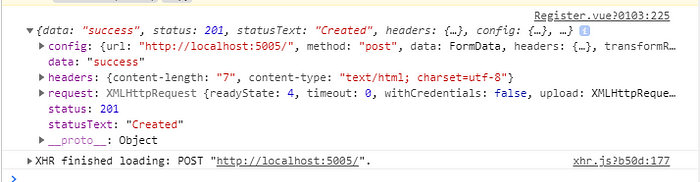
When we submit our form, we should see a success message in the console.
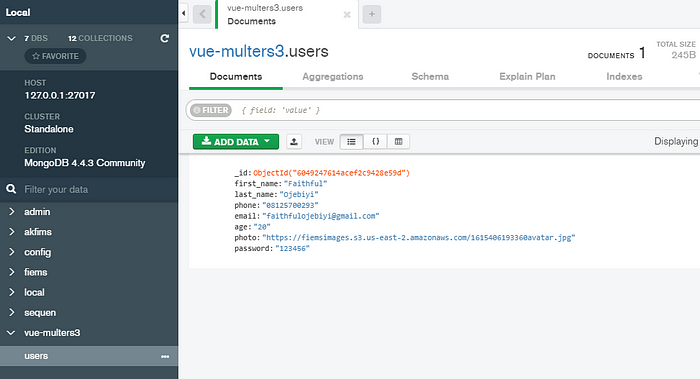
If we check our database, we can see the url to our file on the S3 bucket has been saved.
Thank you for reading. I hope you have found this useful. You can find links to the back-end code here and the front-end code here.
Happy Coding!
In Plain English 🚀
Thank you for being a part of the In Plain English community! Before you go:
- Be sure to clap and follow the writer ️👏️️
- Follow us: X | LinkedIn | YouTube | Discord | Newsletter
- Visit our other platforms: CoFeed | Differ
- More content at PlainEnglish.io